Electrical issues cause 13% of home fires and can lead to £30,000 fines in the UK. Regular safety checks help prevent fires, electric shocks, and costly repairs. Here’s a quick summary of what to inspect:
- Power Outlets: Look for burn marks, loose sockets, or missing grounding.
- Power Cords: Check for frayed wires, cracked insulation, or damaged plugs.
- Circuit Breakers: Test for proper function and watch for frequent tripping or burning smells.
- Light Fixtures: Match bulb wattage, secure mounts, and check for overheating.
- Switchboard: Ensure it’s modern, not overloaded, and includes RCD protection.
- Circuit Overloads: Balance power use and avoid overloading sockets.
- Smoke Alarms: Test monthly and replace batteries or units as needed.
- Professional Inspections: Hire a certified electrician every 5–10 years or sooner if issues arise.
Key Tip: For safety, always call a qualified electrician for repairs or inspections.
These checks keep your home safe, appliances efficient, and help you avoid fines or hazards. Read on for step-by-step guidance on each check.
DIY Home Electrical Safety Check for Outlets & Switches
1. Check Your Power Outlets
Make sure your power outlets are safe by regularly inspecting them. Here’s how to carry out proper checks.
Look for Outlet Damage
Start by visually examining your outlets for these warning signs:
- Discolouration: Brown or black marks around the outlet often signal overheating.
- Physical damage: Cracks, chips, or loose faceplates can make the outlet unsafe.
- Burn marks: These might indicate past electrical faults or short circuits.
- Loose sockets: If plugs don’t fit securely, the connections may be worn out.
If you notice any of these issues, stop using the outlet immediately and contact a qualified electrician in Wellington. Once you’ve checked for visible damage, move on to confirm the grounding.
Verify Grounding
Proper grounding is crucial to prevent electric shocks and protect your devices. Homes built before the 1990s might lack modern grounding systems [2]. To ensure your outlets are grounded:
- Look for three-pin sockets and nearby green/yellow earthing wires [3].
- If you’re uncertain, hire a qualified electrician to assess the system.
Without proper grounding, you could face serious risks, including electric shocks and house fires [3].
Test GFCI Outlets
Ground Fault Circuit Interrupter (GFCI) outlets are designed to cut power quickly when faults are detected. Since the 1970s, they’ve reduced home electrocutions by 50% [4]. These outlets are essential in areas prone to moisture, like kitchens, bathrooms, garages, basements, and outdoor spaces.
To test your GFCI outlets:
- Press the "Test" button – the power should cut off immediately.
- Press "Reset" – the power should restore instantly.
- Replace the outlet if it fails the test.
GFCI outlets react in less than a tenth of a second to dangerous current changes [5]. Testing them monthly ensures they’re working correctly and adds an extra layer of safety to your home.
2. Look Over Power Cords
After checking your outlets, it’s essential to examine your power cords for any potential safety risks.
Check for Damaged Wires
Regularly inspecting your electrical cords helps prevent hazards. When reviewing your cords, watch out for:
- Frayed or exposed wires, especially near the plug and along the cord’s length.
- Cuts or cracks in the insulation.
- Burn marks or blistering, which may signal overheating.
- Kinks or twists in cords with rubber or fabric sheathing.
Pay extra attention to devices that are moved often, like kettles, toasters, or laptop chargers, as they are more likely to show wear.
Inspect the Plug
Examine your plugs carefully for:
- Bent or broken pins.
- Loose connections.
- Signs of melting around the casing.
- Cracked or damaged plug casings.
"A damaged, frayed, or exposed AC adapter or power cable can cause an electric shock. Do not touch the damaged, frayed, or exposed part or the AC adapter or cables. Power off the main wall outlet immediately." – Dell US [7]
If you notice any of these issues, stop using the item and consult a qualified electrician.
Tips for Cord Safety
- Avoid running extension cords through walls, doorways, ceilings, or floors [8].
- Don’t cover cords with rugs or furniture.
- Keep cords out of high-traffic areas to reduce wear.
- Store unused cords loosely coiled in a cool, dry location.
- Refrain from wrapping cords tightly around appliances or devices.
Exposed wires can cause appliances to work inefficiently, increase energy use, and trip circuit breakers [9]. For outdoor electrical problems or wiring issues beyond your property, contact the State Emergency Service for help [9].
Be alert for visible damage, unusual noises, or burning smells from cords [6]. If you notice any of these signs, call a qualified electrician immediately.
3. Check Your Circuit Breakers
Circuit breakers are essential for protecting your home from electrical overloads. Regular testing and upkeep ensure they function correctly, reducing the risk of electrical fires and damage.
Run Basic Tests
Testing your circuit breakers is straightforward but requires caution:
- Turn off all appliances connected to the circuit.
- Reset the breaker to the "ON" position and listen for a clear click.
- Check that the breaker stays securely in position.
- Observe if the breaker trips again after disconnecting all appliances.
If anything seems off, it’s time to call a qualified electrician in Wellington.
Watch for Warning Signs
Certain signs might indicate your circuit breakers need attention:
- Frequent tripping under light loads.
- Flickering or dimming lights.
- Burning smells near the electrical panel.
- Visible damage, like scorch marks or cracks.
- Odd noises, such as buzzing or crackling.
- Excessive heat around the breaker.
- Breakers that won’t stay reset.
While circuit breakers typically last 20–30 years, regular inspections are crucial no matter their age. If you notice any of these issues, contact a professional in Wellington.
Label Your Breakers
Proper labelling of circuit breakers isn’t just practical – it’s a time-saver. Studies show that clearly labelled panels can cut diagnostic times by up to 50% [10]. Here’s how to do it effectively:
| Labelling Best Practices | Why It Matters |
|---|---|
| Use black text on white labels | Maximum visibility |
| Number breakers sequentially | Easy identification |
| Include room names and purposes | Quick reference |
| Keep a master directory | Emergency access |
"Homes with updated panels and clearly documented electrical systems frequently move off the market faster while capturing higher resale values." – Zillow [10]
Additionally, create a detailed floor plan showing each circuit’s layout, and keep a copy near your electrical panel for emergencies. If you’re unsure about a circuit’s purpose, mark it temporarily as "unknown" in pencil until you can confirm its function.
4. Review Light Fixtures
Once you’ve ensured that outlets, cords, and circuit breakers are in good shape, it’s time to inspect your light fixtures. These are another frequent source of electrical problems that can lead to safety risks if not properly maintained.
Match Bulb Wattage
Using a bulb with a wattage higher than what the fixture is designed for – like putting a 75W bulb in a 60W-rated fixture – can pose a fire risk [11].
| Bulb Type | Heat Generation | Best Use Case |
|---|---|---|
| LED | Lowest | Enclosed fixtures |
| CFL | Moderate | Most fixtures |
| Incandescent | High | Open fixtures only |
| Halogen | Highest | Well-ventilated areas |
To avoid issues, remove the current bulb and check the fixture’s wattage label. Make sure any replacement bulb stays within the recommended wattage. If you’re dealing with an older or unlabelled fixture, it’s safer to use a lower-wattage bulb.
Test Fixture Mounts
Loose light fixtures can lead to electrical hazards or even injuries. Look out for these warning signs:
- Wobbling or movement when touched
- Gaps between the fixture and the wall or ceiling
- Flickering lights during normal use
- Buzzing or humming sounds
- Wear or damage around mounting points
For ceiling fixtures, inspect the mounting bracket and screws. If any movement is detected, secure the fixture using 50 mm wood screws and appropriate wall anchors [12].
Check for Hot Spots
WorkSafe highlights several warning signs of unsafe installations, such as hot plugs, scorch marks, frequent blown fuses, tripping breakers, and flickering lights [13]. Be sure to:
- Inspect the base of the fixture and surrounding surfaces for signs of heat damage.
- Verify there’s enough clearance between the fixture and any stored items.
- Check the fixture’s housing temperature after use.
- Ensure proper ventilation, especially for enclosed fixtures.
In storage areas like cupboards or closets, replace exposed incandescent bulbs with enclosed fixtures or LED alternatives to minimise fire risks [14]. Maintain at least 30 centimetres of clearance between light fixtures and stored items.
Once you’ve gone through these steps, you’re ready to move on to other essential safety checks to keep your home’s electrical system secure.
sbb-itb-a223b6a
5. Review Your Switchboard
After checking outlets, cords, breakers, and fixtures, it’s time to focus on your switchboard. This consumer unit is the core of your home’s electrical system, playing a key role in safety and power distribution. A thorough inspection can help prevent electrical hazards and ensure your system is up to the task.
Check the Age of the Switchboard
Modern homes require more electricity than older systems were designed to handle. If your switchboard is outdated, it might not meet your needs. Look out for these signs:
- Porcelain fuses instead of circuit breakers
- Black backing boards (ACM backing boards)
- Overcrowded or loose wiring
- Presence of asbestos materials
- Lack of RCD (Residual Current Device) protection
"Your switchboard is the hub of your home electrical system, ensuring electricity goes where it’s needed, as it’s needed." – Lite Energy [15]
Assess Power Load
With more devices in use, your switchboard might struggle to keep up. Watch for these warning signs:
| Warning Sign | What It Indicates | What to Do |
|---|---|---|
| Flickering Lights | Possible circuit overload | Redistribute the power load |
| Warm Switch Plates | Potential wiring issues | Get an inspection immediately |
| Buzzing Sounds | Internal component problems | Call a professional |
| Frequent Trips | Circuit capacity exceeded | Check the load calculation |
If you notice burning smells, discoloured outlets, or mild electric shocks from appliances, it’s essential to contact a professional right away [16].
Schedule Professional Inspections
Regular switchboard inspections are a must. Here’s when to schedule them:
- Every 5–10 years for newer systems
- As soon as you notice any warning signs
- Before major home renovations
- Before adding high-power appliances
While you can spot some issues visually, a licensed electrician in Wellington should handle the detailed checks. Ignoring electrical safety standards can result in fines of up to £30,000 [1].
6. Find Circuit Overloads
Circuit overloads can be a serious safety hazard. Identifying and addressing these issues is crucial for maintaining a safe home.
Recognise Overload Warning Signs
Your home’s electrical system often gives clear indications of an overloaded circuit. Look out for:
- Dimming or flickering lights
- Warm switch plates or outlets – if they feel hot, reduce the load immediately
- Buzzing or crackling sounds coming from outlets
- Burning plastic odour – this requires immediate attention [18]
"Overload happens when you draw more electricity than a circuit can safely handle – by having too many things running on one circuit." – WireChief Electric Ltd [17]
Distribute Power Usage Wisely
Understanding the power usage of your appliances can help you balance the load across circuits:
| Appliance | Power Usage | Circuit Recommendation |
|---|---|---|
| Kettle | 3,000W | Use a single circuit only |
| Washing Machine | 2,200W | Requires a dedicated circuit |
| Microwave | 1,550W | Keep separate from other kitchen appliances |
| Fridge/Freezer | 350W | Can share a circuit |
| Television 42" HD | 120W | Suitable for shared circuits |
Electrical safety guidelines suggest keeping circuits loaded to no more than 80% of their capacity [17]. For a standard 13-amp circuit, this means staying below 2,400 watts. If you’re unsure about your load calculations, it’s best to consult a qualified electrician in Wellington.
Balancing your power usage is a key step in reducing risks and complements other safety measures.
Use Power Boards Safely
Proper use of power boards is essential for preventing overloads. Follow these tips:
- Do not exceed 3,000 watts per socket [19]
- Avoid "daisy-chaining" power boards – connecting multiple boards together is unsafe
Always use dedicated wall sockets for high-power appliances like kettles, washing machines, and dishwashers. Save extension leads for low-power devices [19].
Regular electrical safety checks are vital to ensure that every part of your home’s system remains secure.
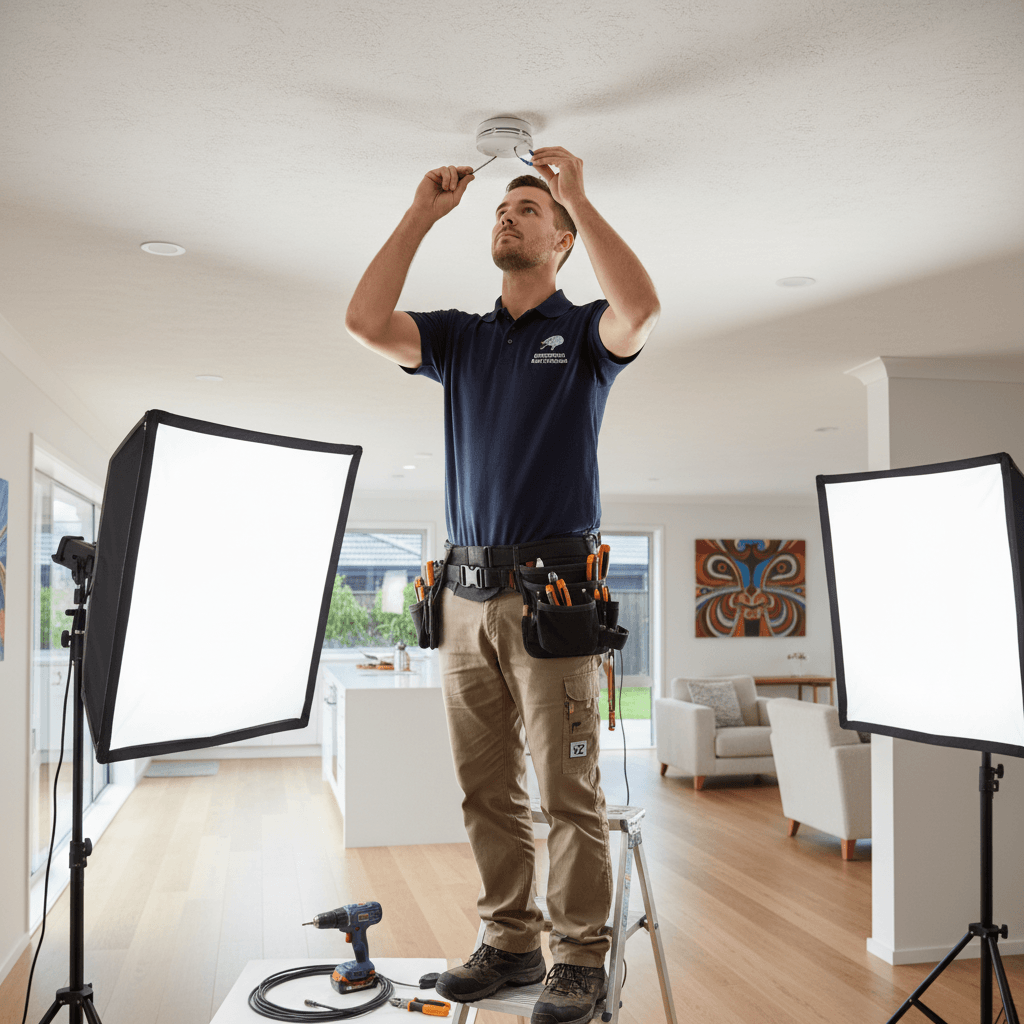
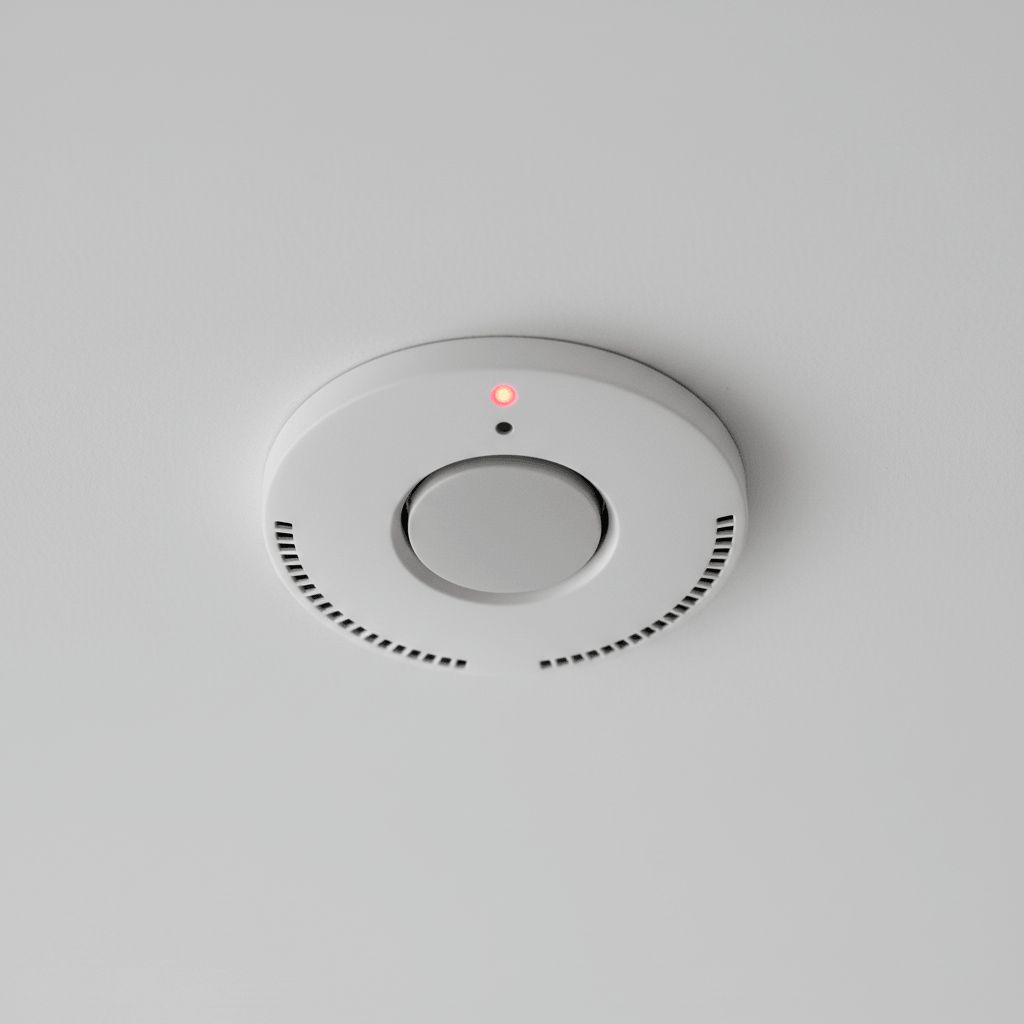
7. Test Smoke Alarms
Smoke alarms are crucial for giving an early warning in case of electrical fires or other emergencies.
Test Your Alarms Monthly
Make sure your smoke alarms are working by testing them every month:
- Press and hold the test button for about five seconds until you hear a loud beep.
- Ensure the alarm produces a strong, clear sound.
If the sound is weak or the alarm doesn’t work, check the batteries straight away or contact a local electrician in Wellington for help.
Replace Alarm Batteries
Different smoke alarms have different battery needs. Here’s a quick guide:
| Alarm Type | Battery Replacement Frequency | Notes |
|---|---|---|
| Standard Alkaline | Every 12 months | Replace immediately if it starts chirping |
| 10-Year Lithium | No battery replacement needed | Replace the entire unit after 10 years |
To keep your alarms in top condition:
- Pick a specific date each year to replace batteries.
- Clean the units with a vacuum and a damp cloth every six months.
- Mark new batteries with the installation date.
- Use calendar reminders to stay on top of maintenance.
Don’t forget: all smoke alarms, no matter the type, should be replaced completely every 10 years [20].
Regular maintenance of smoke alarms is key to keeping your home safe, complementing other safety measures like circuit checks and inspections.
8. Get Professional Help
Schedule Regular Inspections
While DIY checks are helpful, professional inspections are crucial for ensuring safety. How often you need them depends on your property’s age and condition. For instance, standard homes should be inspected every 3–5 years. Homes older than 25 years may require yearly inspections. It’s also wise to book inspections when buying a property or after completing major renovations.
| Property Type | Recommended Inspection Frequency |
|---|---|
| Standard Homes | Every 3–5 years |
| Homes Over 25 Years Old | Annually |
| New Property Purchase | Before completion |
| Post-Renovation | After completion |
Understanding what professionals look for during these inspections can help you prepare.
What Professionals Check
When you hire a professional electrician, they’ll focus on several key areas, including:
- Examining the switchboard and wiring to ensure everything functions safely, including testing circuit breakers and cables.
- Checking safety devices like RCDs and circuit breakers to confirm they work properly.
- Evaluating circuit loads to prevent overloading.
- Ensuring all installations comply with current safety standards.
After the inspection, a certified electrician can address any issues they find, giving you peace of mind.
Work with Certified Electricians
Hiring a licensed professional is essential. In New Zealand, WorkSafe requires licensed electricians to:
- Provide Certificates of Compliance (CoC) for fixed wiring work.
- Conduct detailed safety checks.
- Deliver inspection reports.
- Ensure all work meets New Zealand’s electrical safety regulations.
"The CoC indicates that the work done is electrically safe and has been carried out in accordance with New Zealand’s electrical safety standards and codes. It also shows they have tested their work once completed." – WorkSafe [22]
In 2021, electrical faults were responsible for 24,200 home fires [21].
Conclusion
After going through the key safety checks, it’s clear that regular maintenance is essential. From inspecting outlets to testing circuit breakers, each step helps protect your home and prevent potential hazards.
Electrical faults rank as the second leading cause of home fires [23]. This highlights the importance of these eight checks in keeping your home safe and avoiding expensive repairs. Regular inspections are especially important for homeowners who want to ensure their electrical systems remain safe and efficient.
Over time, electrical installations naturally wear out. As Aspect explains:
"It’s important to remember that all electrical installations degrade over time due to wear and tear, so need to be tested regularly" [24]
Routine maintenance not only boosts safety but also improves energy efficiency and helps prevent issues. Matt Koch, Director of Electrical at Five Star Home Services, stresses:
"The main goal of regular electrical safety inspections is to ensure that you have a dependable electrical system for: The safety of your household, the integrity of your property, and the fault-free operation of your electrical appliances/equipment" [23]
If you’re uncertain about the condition of your home’s electrical system, it’s wise to reach out to a qualified electrician in Wellington for a detailed inspection. This reinforces the importance of having a reliable professional to ensure your home’s electrical safety.