Replacing a lightbulb might seem simple, but doing it safely and effectively requires a few key steps. Here’s what you need to know:
- Turn off the power: Always switch off the light and circuit breaker before starting.
- Check the bulb type: Identify the base type (B22, E27, GU10), wattage, and compatibility with dimmers or fixtures.
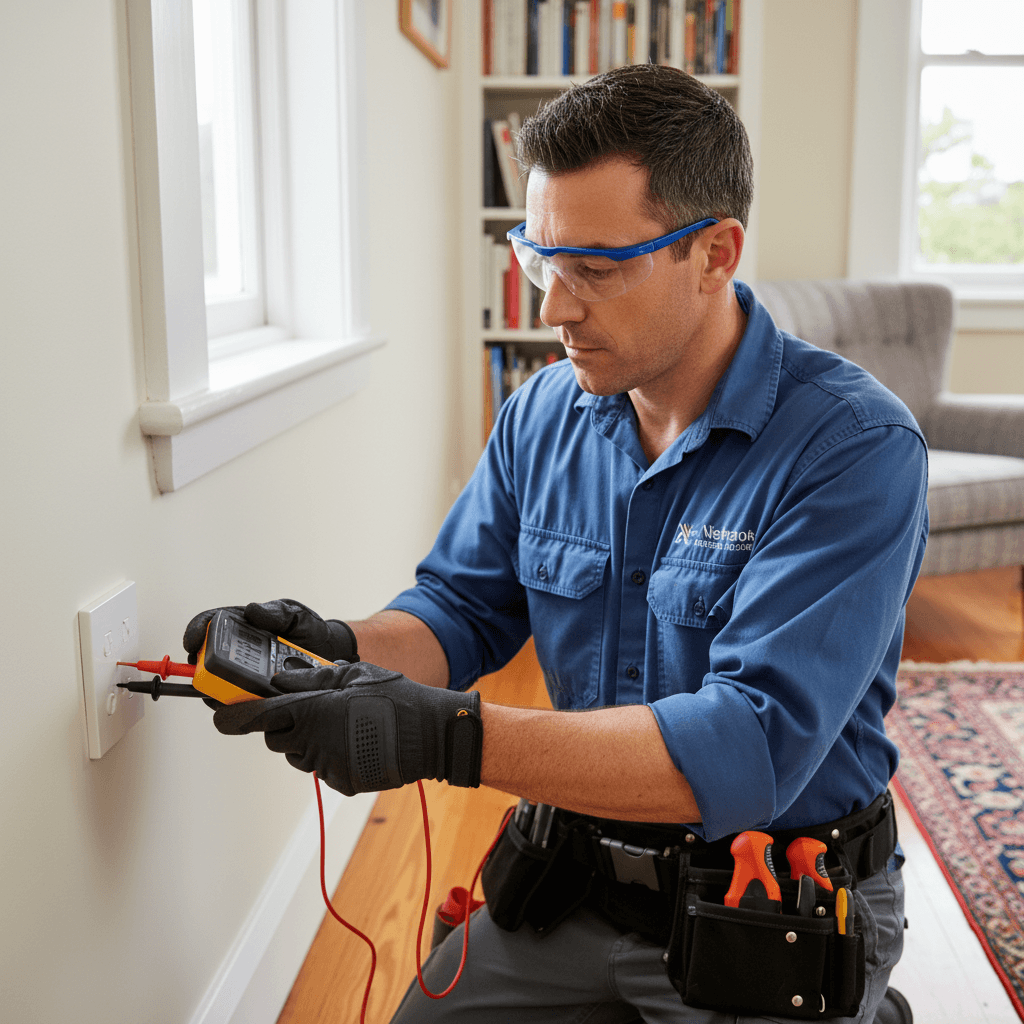
- Use the right tools: A stepladder, insulated gloves, and safety glasses are essential for safe handling.
- Switch to LEDs: They use up to 80% less energy and last longer than traditional bulbs.
Follow these steps to safely remove the old bulb and install a new one. If issues like flickering, buzzing, or frequent burnouts persist, it may signal electrical problems that require a professional electrician.
How to Change a Lightbulb (The Comprehensive Guide)
Safety Steps Before Starting
Taking precautions is crucial when replacing or fixing lightbulbs in your Wellington home or workplace. Proper safety measures can help you avoid electrical accidents and injuries.
Turn Off the Power
Always cut the power before working on any light fixture.
- Find the switchboard and turn off the lighting circuit.
- Unplug portable lamps to ensure they’re completely disconnected.
Get the Work Area Ready
- Remove any furniture or obstacles from the floor.
- Use natural light or a torch to illuminate the area.
- Place a sturdy stepladder on even ground.
- For high ceilings, consider using a bulb-changing pole.
Once the area is ready, figure out the type of bulb you’re dealing with and check what’s causing the problem.
Check Bulb Type and Problem
Identify Bulb Specifications
First, figure out the key details about your bulb:
- Base type: Common options are B22, E27, or GU10.
- Wattage rating: Check the maximum wattage your fixture supports.
- Colour temperature: Decide between warm white or cool white.
- Dimmer compatibility: Ensure the bulb works with your dimmer, if needed.
In many Wellington homes, you’ll often find these lamp cap types:
- B22: 22 mm bayonet cap.
- E27: 27 mm Edison screw cap.
- GU10: Miniature reflector cap.
Check What’s Wrong
Look for these common issues:
- The bulb doesn’t light up.
- Loose connection in the socket.
- Flickering or inconsistent lighting.
- The bulb burns out too quickly.
- Buzzing sounds (common with CFLs; replace the bulb if this happens).
- Problems with heat dissipation or old wiring causing issues with LED bulbs.
Once you’ve identified the problem, gather the tools and parts you’ll need to safely replace the bulb.
Required Tools and Parts
Tools You’ll Need
- A stepladder or sturdy stool for reaching higher fixtures
- Insulated gloves to protect your hands
- Safety glasses for eye protection
- A cloth or rubber jar opener to help with stuck bulbs
- A torch or headlamp for better visibility
- A bulb-changing pole for those hard-to-reach spots, like high ceilings
Choosing the Right Bulb
When replacing a bulb, it’s important to pick one that matches your fixture and meets your lighting needs. Here’s what to check:
- Type: Options include LED, halogen, and CFL. LEDs are the most efficient, lasting longer and using up to 80% less energy.
- Shape: Common shapes include globe, candle, and reflector. Choose one that fits your fixture and provides the right beam pattern.
- Base: Make sure the base matches your socket type, such as bayonet, Edison screw, or pin.
- Wattage: Always stay within the fixture’s maximum wattage rating to avoid damage or safety risks.
- Lumens: This determines the brightness. Higher lumens mean brighter light.
With the tools ready and the right bulb selected, you’re all set to move on to the step-by-step replacement process. Double-check the bulb specs from the previous section to ensure compatibility with your fixture.
sbb-itb-a223b6a
Step-by-Step Replacement Guide
Follow these steps to safely replace your light bulb:
Removing the Old Bulb
-
Turn Off Power and Let It Cool
Double-check that the light switch and circuit breaker are off. Wait until the bulb has completely cooled down. -
Set Up Safely
Place a sturdy stepladder on flat, stable ground next to the light fixture. Avoid standing directly beneath the bulb. -
Take Off Fixture Covers
Remove any covers by unscrewing, twisting off knobs, or releasing clips, depending on the design. -
Remove the Bulb
- Bayonet fittings: Hold the bulb, push down gently, and turn it counter-clockwise to release.
- Screw-cap fittings: Grip the bulb’s base and twist counter-clockwise to loosen it.
- If the bulb breaks: Use half a potato to safely twist out the remaining base.
Installing the New Bulb
-
Check the Specifications
Ensure the new bulb matches the socket type and wattage requirements of your fixture. -
Insert the New Bulb
- Bayonet fittings: Align the pins with the slots, push in, and twist clockwise to secure.
- Screw-cap fittings: Insert the bulb and turn it clockwise until firmly in place.
-
Test the Light
Reattach any fixture covers, switch the power back on, and test the light to confirm proper installation.
Fix Common Problems
Troubleshooting
Here’s a handy guide to help you sort out common bulb issues.
| Problem | Likely Cause | Solution |
|---|---|---|
| Flickering Light | Loose bulb | Turn the bulb slightly counter-clockwise, then tighten it until snug. |
| Incompatible dimmer | Replace with a dimmer switch designed for LED bulbs. | |
| Loose wiring | Get a qualified electrician to inspect and tighten connections. | |
| Overloaded circuit | Unplug high-power appliances or balance the load across circuits. | |
| Bulb Won’t Stay Tight | Damaged socket tab | Turn off power and gently bend the brass tab up to a 30° angle. |
| Overtightening | Tighten the bulb just 1/8th of a turn past the point it lights up. | |
| Premature Burnout | Poor ventilation | Clear vent holes in recessed fixtures and use bulbs rated for enclosed spaces. |
| Excessive vibration | Use LED or "rough service" bulbs in areas with frequent vibrations. | |
| High voltage | Have an electrician check your home’s voltage; contact your local council if it’s consistently high. |
Always turn off the power before attempting any of these fixes.
Maintenance Tips
Follow these tips to avoid future problems:
- Check fixtures for flickering or intermittent issues, and have an electrician tighten loose wiring if needed.
- Use LED bulbs with warranties – they last longer and reduce how often you need replacements.
- Avoid rapid switching with CFL bulbs; LEDs are a better choice for areas with frequent on/off cycles.
- Make sure your dimmer switches are compatible with your bulb type.
- Secure fixtures in areas prone to vibrations to minimise movement and wear.
When to Get Professional Help
Changing a lightbulb might seem simple, but some warning signs suggest deeper electrical issues that only a qualified electrician in Wellington should handle. If basic troubleshooting hasn’t solved the problem, or you notice any of the following, it’s time to call an electrician.
Frequent Bulb Failures
If your bulbs keep burning out, even after switching to LEDs or testing them, it could signal a wiring issue that needs expert attention.
Older Homes
Homes built before 1960 may have outdated wiring that can’t handle today’s electrical demands. A full safety check is essential in these cases.
Unusual Electrical Issues
Persistent flickering or dimming, even after securing or replacing the bulb, often points to more serious problems. Don’t ignore it – contact an electrician in Wellington.
Unsafe or Tricky Situations
If the light fixture is hard to reach, at an awkward angle, or you suspect internal faults, leave it to a professional to avoid injury or further damage.
"Never hesitate when it comes to potential electrical problems. Electrical issues can quickly develop into major catastrophes."
- Tim Toomey Electrical
If you haven’t already called an electrician, check out our maintenance tips or common fixes for more guidance.
Conclusion
Before tackling your next bulb replacement, make sure to turn off the power, choose the correct bulb, and use the proper tools. Stick to the safety guidelines mentioned earlier. Switching to certified LED bulbs can help lower energy costs and improve safety.
If you encounter frequent bulb issues or electrical problems, it’s best to call a qualified electrician. For expert help in Wellington, reach out to Weka Electrical for reliable assistance with complex or urgent lighting needs.
For fast and reliable electrical repair services, our licensed team diagnoses and resolves issues efficiently.